Homeboard P0 has been built!!1
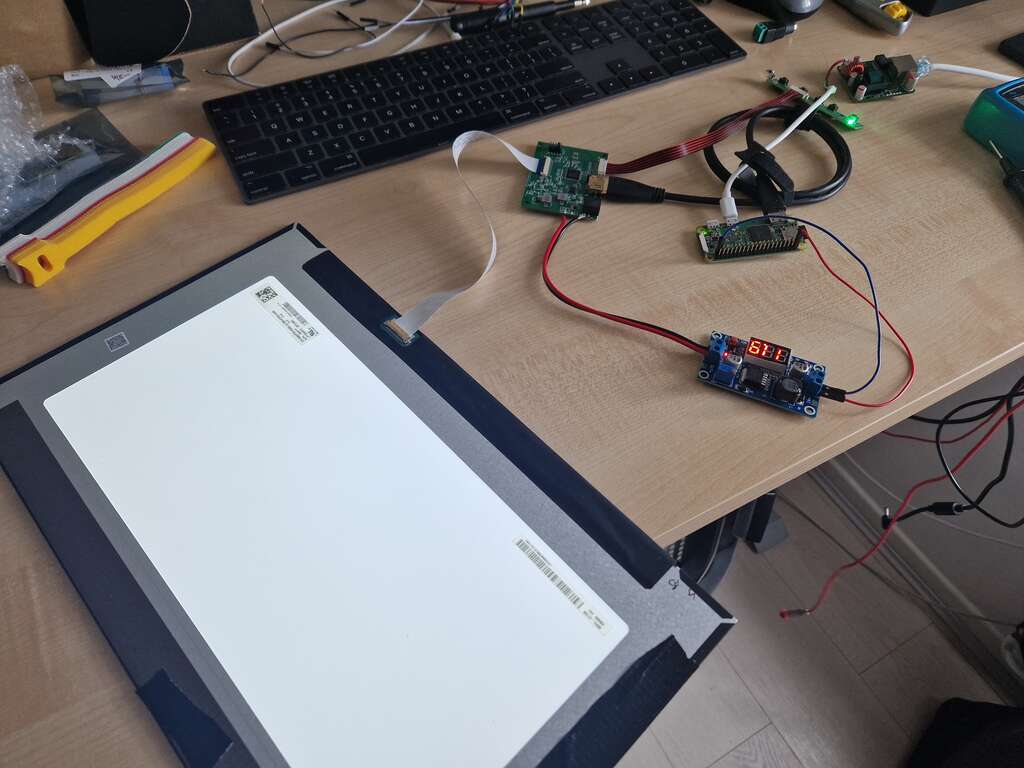
After figuring out how to run my own LCD panel, it was just a question of buying the right cables. I wanted to build a homeboard, and I thought I'd spend a ton of time writing cool software. Turns out 90% of the project is a game of "did I buy the right cable". Eventually I did end up with enough cables to build this monstrosity:
You are admiring a:
- Raspberry Pi zero,
- Powered over ethernet, with a PoE adapter
- The Raspberry Pi Zero powers the LCD controller board
- But the controller board needs 12V, so there is a DC-DC board that bumps the 5V from the RaspberryPi to the 12V the board needs.
(Full list of materials further down, so you don't need to hunt all of these)
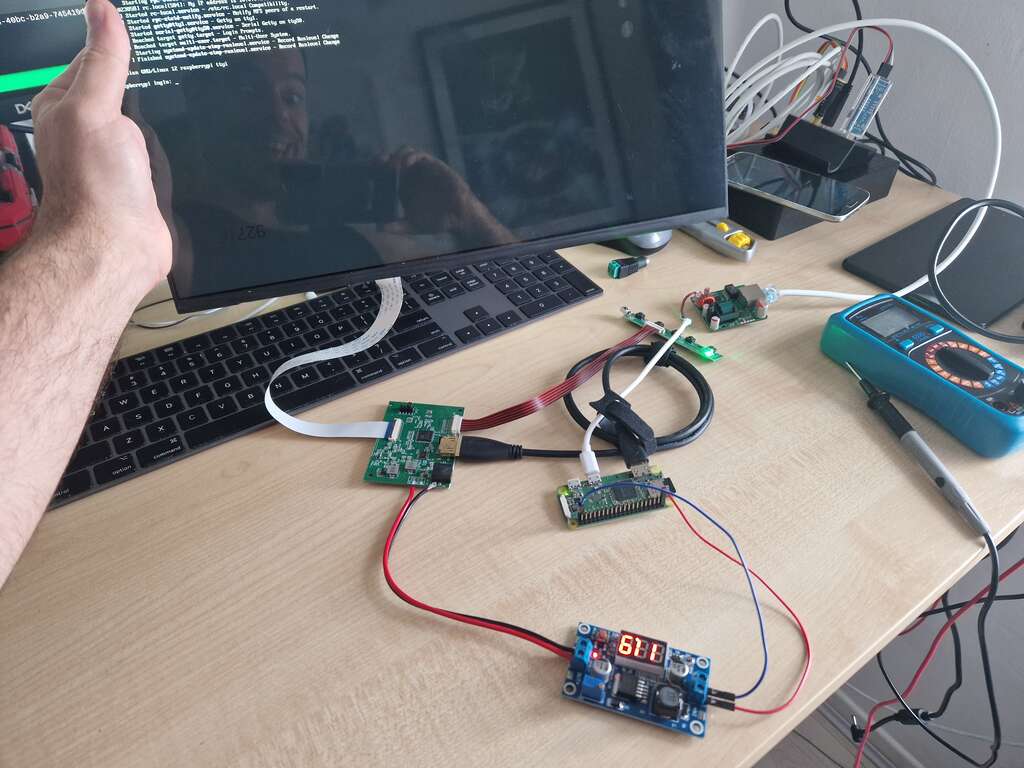
Here the glorious moment everything is connected together, and actually boots an OS:
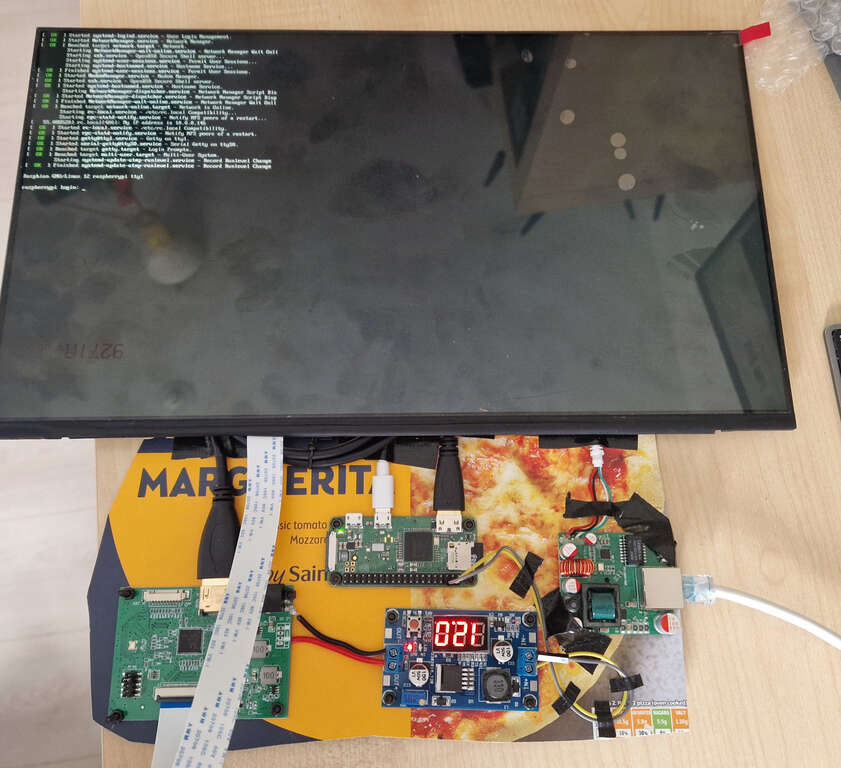
Of course at this point I realized the weak point of my design is on the mechanical linkage between the different boards. To tame this quite literally unwieldy hodgepodge of cables, I ate a pizza:
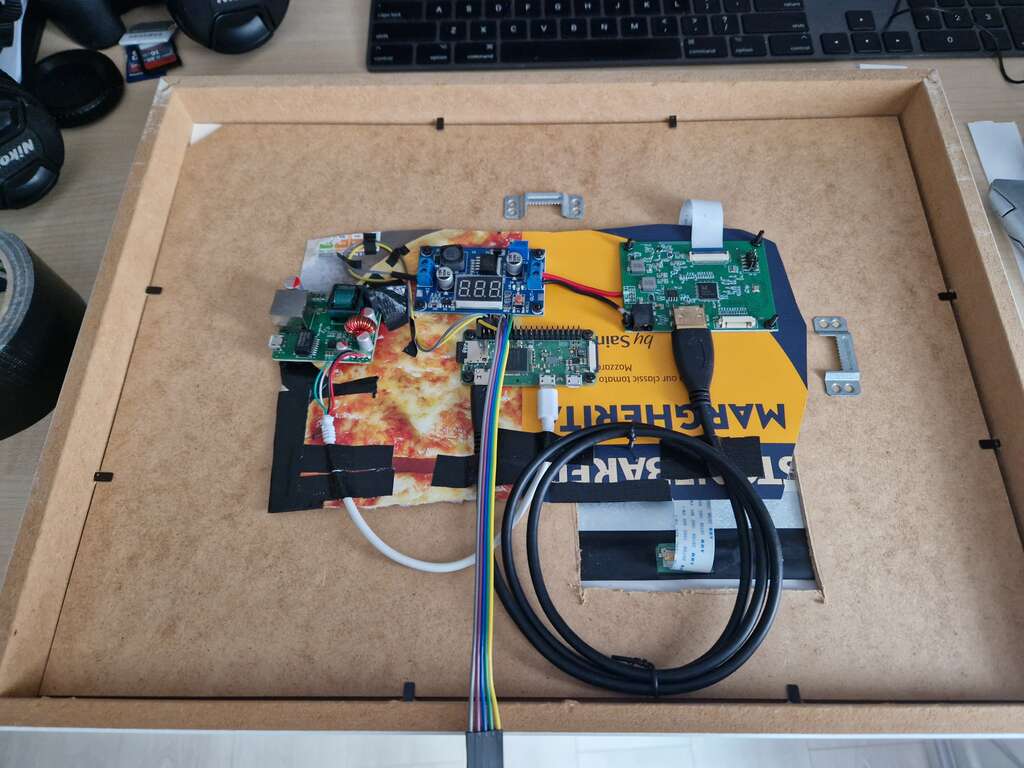
Using the cardboard box of a pizza, some ducktape and a few M2 screws, I built a beautiful hack mount for all my boards, which let me move the assembly around for tests. This was enough for quick power checks, but pizza box cardboard isn't a very durable material. I upgraded to a full frame:
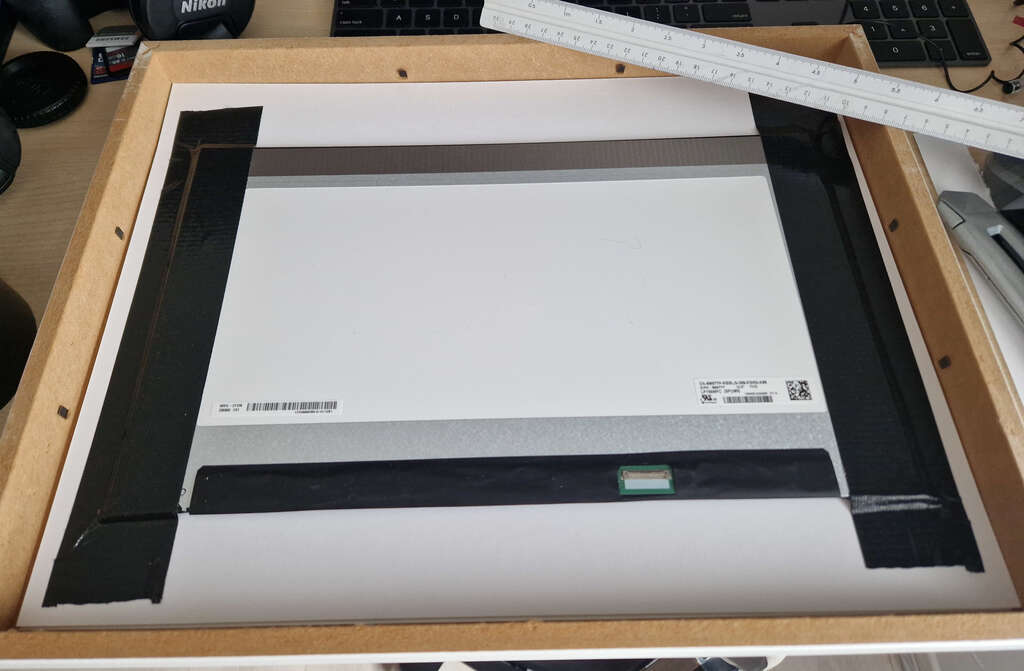
This is an Ikea picture frame, with an LCD screen tapped to the front and a hole in the back for the eDP connector. Everything mounted together:
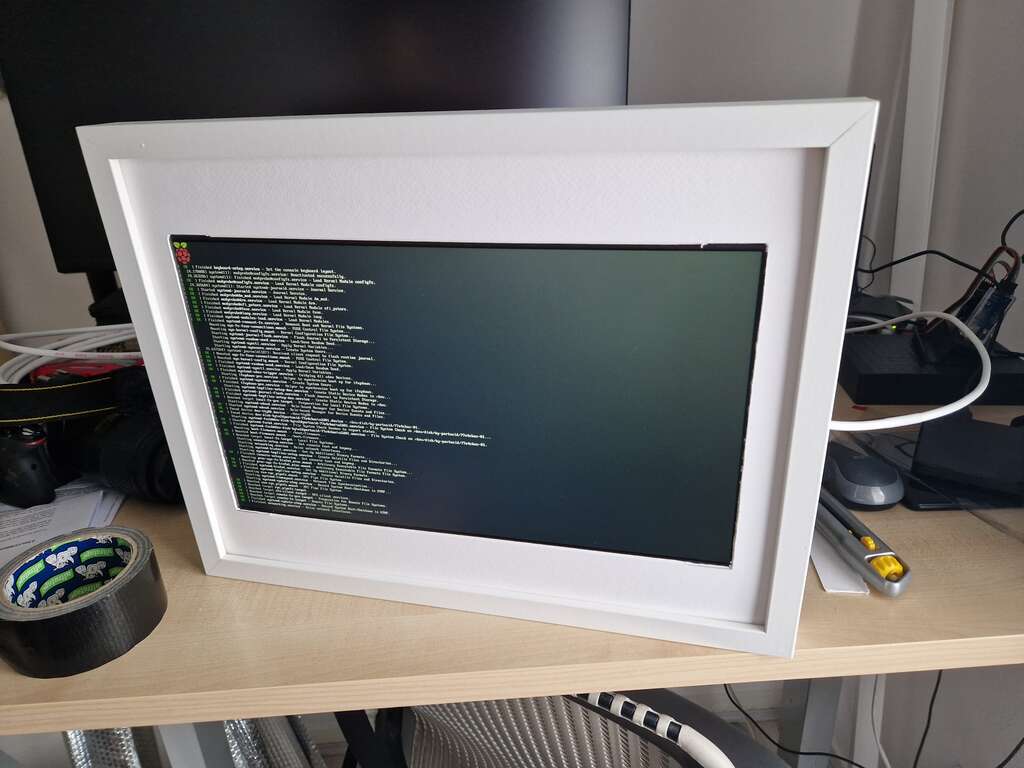
And the glorious, glorious first boot of the Stonebaked Margherita Homeboard P0:
Of course at this stage the only thing the Houseboard P0 does is boot. An achievement, but not too useful. Next up, I'll make it do something. Possibly crash.
BoM
- Pi Zero (not W, but W works too)
- LCD panel
- HDMI to eDP board
- PoE adapter
- M2 Screws
- Step up board DC-DC 5v to 12V
- M2 Screws
- Jumper wires (get a mix of F/F, M/F and M/M)
- An Ikea Ribba picture frame
- Pizza. Margherita not required.
- Mini HDMI to HDMI
Optionals:
- UART - to figure out why things don't boot, or to debug sensors
- Regulable power source 3 to 30V - useful to debug power to elements in isolation
- HLK-LD2410S 24G mmWave sensor Manual - not used yet, but soon
